| First off this is NOT the real Sputnik but the version that caused the changes from our timeline and the one I am using for my own universe. Instead of the Russians building Sputnik to transmit a constant noise over the radio they built a satellite that had a crude video camera pointed at the earth and transmitted the footage back to earth. | ||||
| Please CLICK on a thumbnail to get a bigger version. | ||||
|
|
||||
|
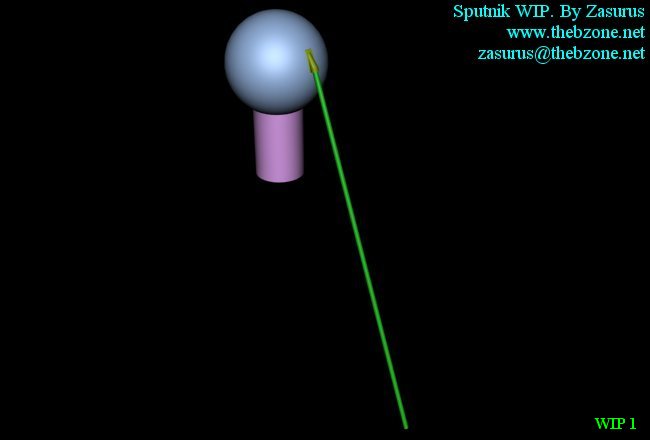
OK here is my first WIP picture of it. So far I have a basic sphere for the main body, a cylinder for the camera & one of the four antennas to transmit the images back to the unsuspecting Americans… | |||
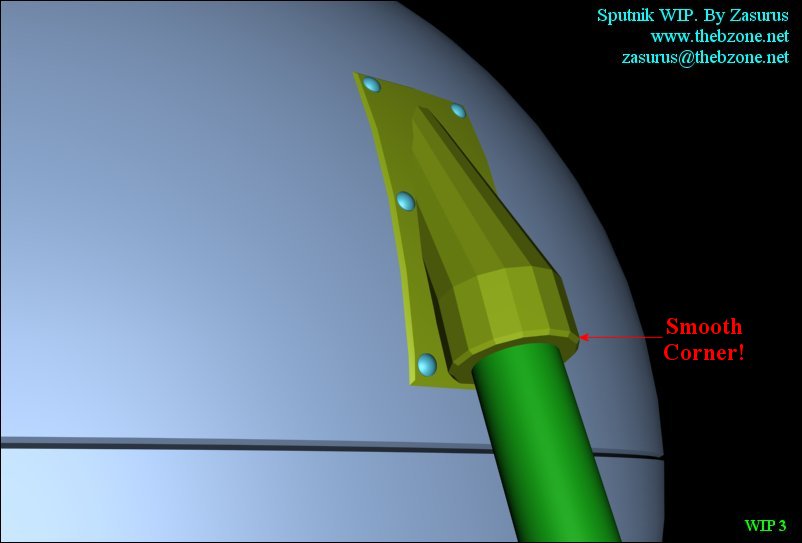
| This is a close up picture of the connector from the antennae to the main body of the satellite. I have added a bit more detail and also started to add the split inbetween the top and bottom sections of the main sphere. I did this by selecting all of the top polygons and then extruding them and bevelling them (both local not group). I then repeated this for the bottom section. |

|
|||
|
Not done much in this picture. All I have done is to smooth off the corners. | |||
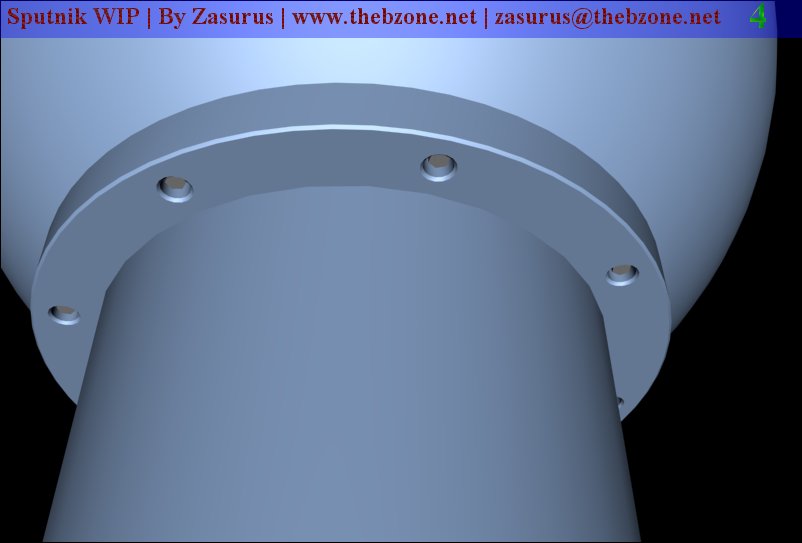
| This is the section where the main body of the satellite (top) connect to the camera holder (bottom). I have created a ring that is attached to the bottom section and then bolted to the top section. |
|
|||
|
I have had a go at making the joint look a bit better. I have created tried to create the effect of a weld. By extruding the top of the cylinder and then bevelling it. I then left it without any smoothing which in my opinion creates a nice weld affect. | |||
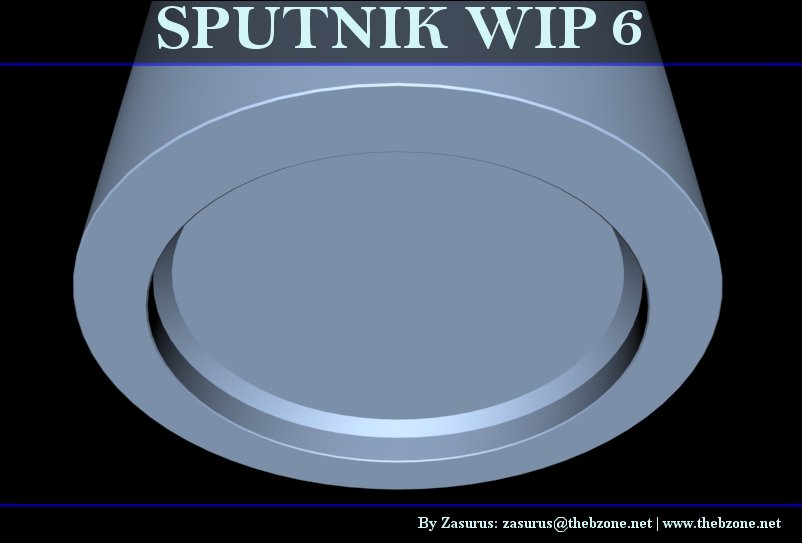
| This is the bottom of the camera section. The flat section indented slightly is or will be the glass that the camera will be behind. The angled sections is designed to hold the glass in place. |
|
|||

|
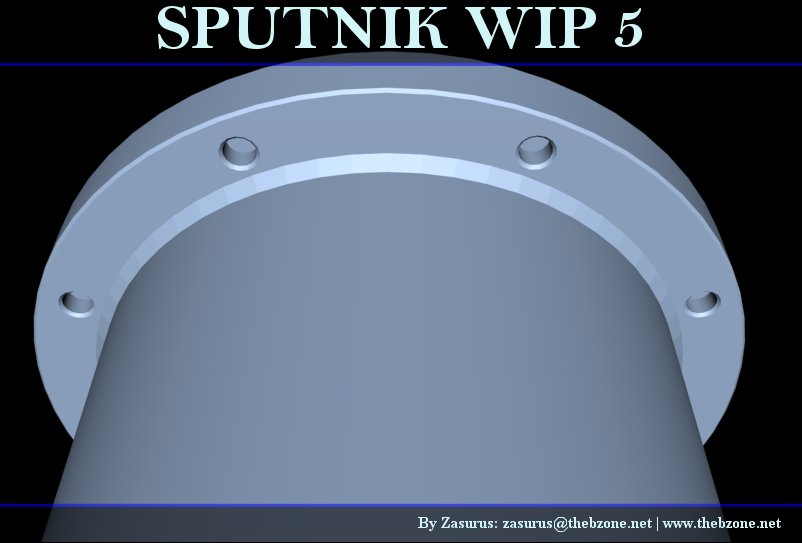
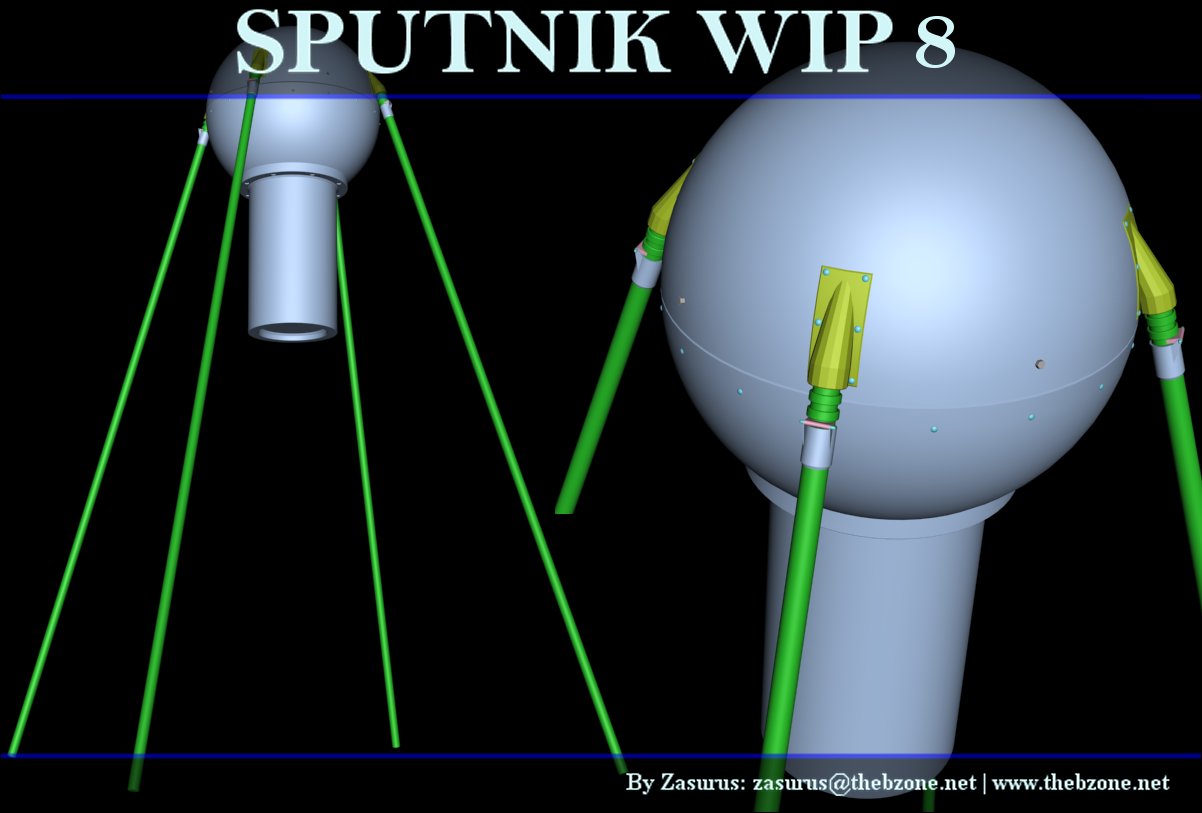
K… Lots more on this pic to start with there is the rivets just bellow the connection between the top and bottom section which hold section inside the sphere to screw the section together. Then the bolts above the connection is there to prevent the sections from unscrewing during launch. The final addition in this pic is the top of the antennae. This section is to enable the antennae to fold up during the launch to enable them to fit into a smaller space. | |||
| This is a bigger picture of the whole satellite and a close up view of the whole main section from an upper view. |
|
|||

|
I have been asked to do a wire-frame shot of it to show more detail about the mesh so here it is… | |||
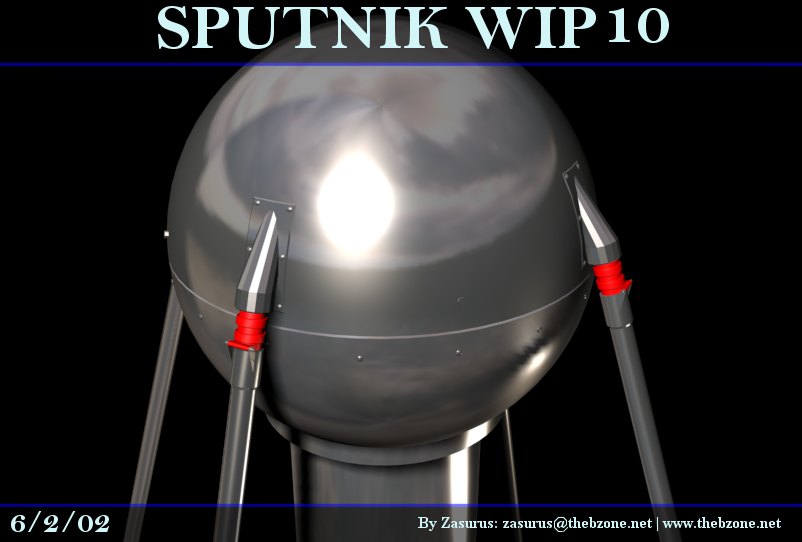
| NOW! I have been looking at some metal tutorials with err.... not very satisfactory results. The main sphere look ok but I have already decided that I will make that more like the original sputnik and it is just the antennas that I want to look like metal or chrome like in original. So I will do a bit more messing around to get the desired affect. |
|
|||
|
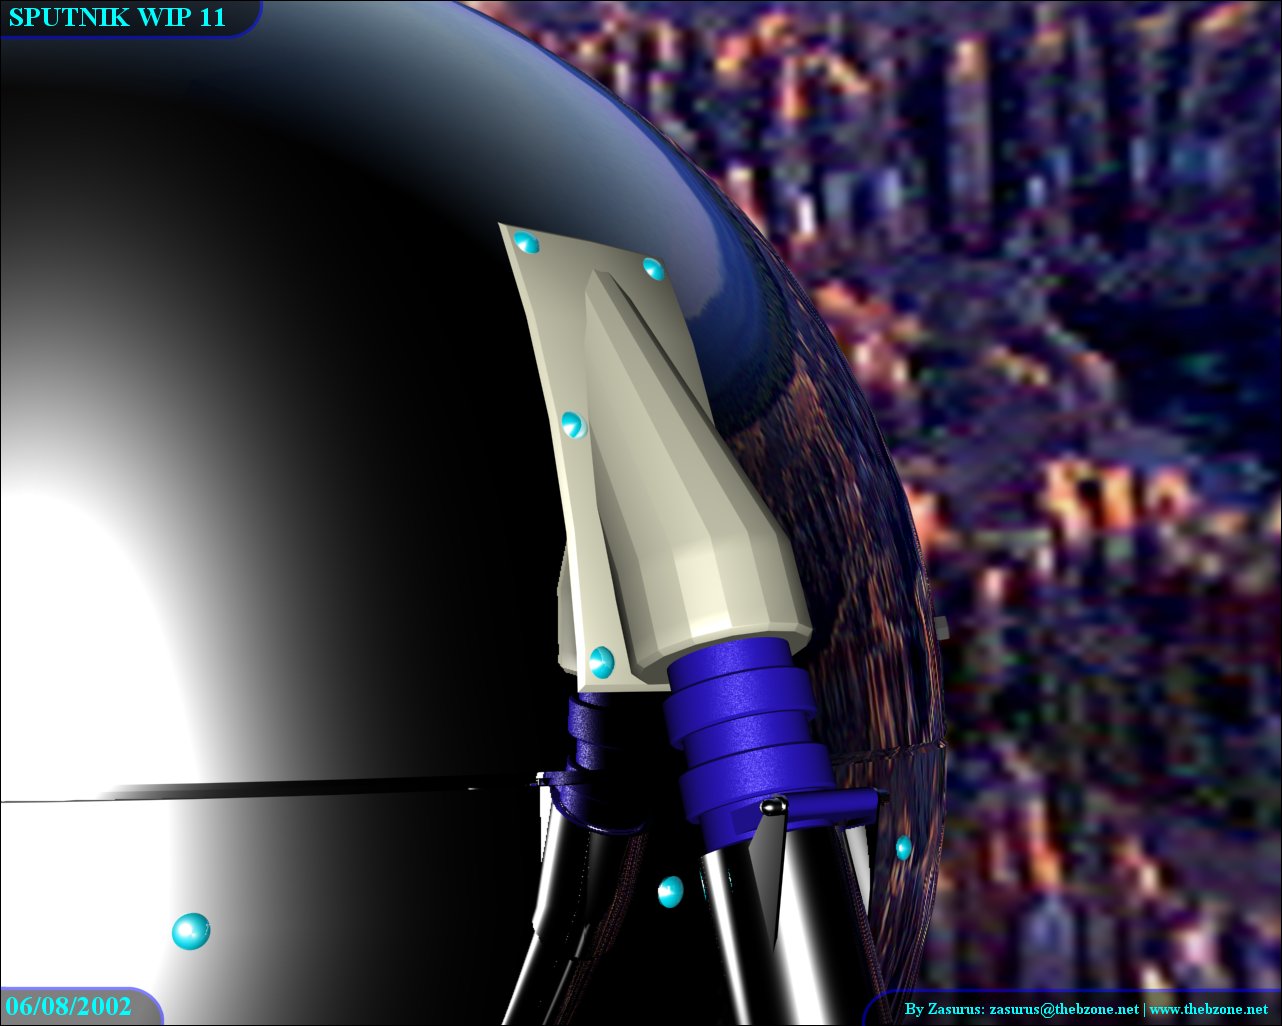
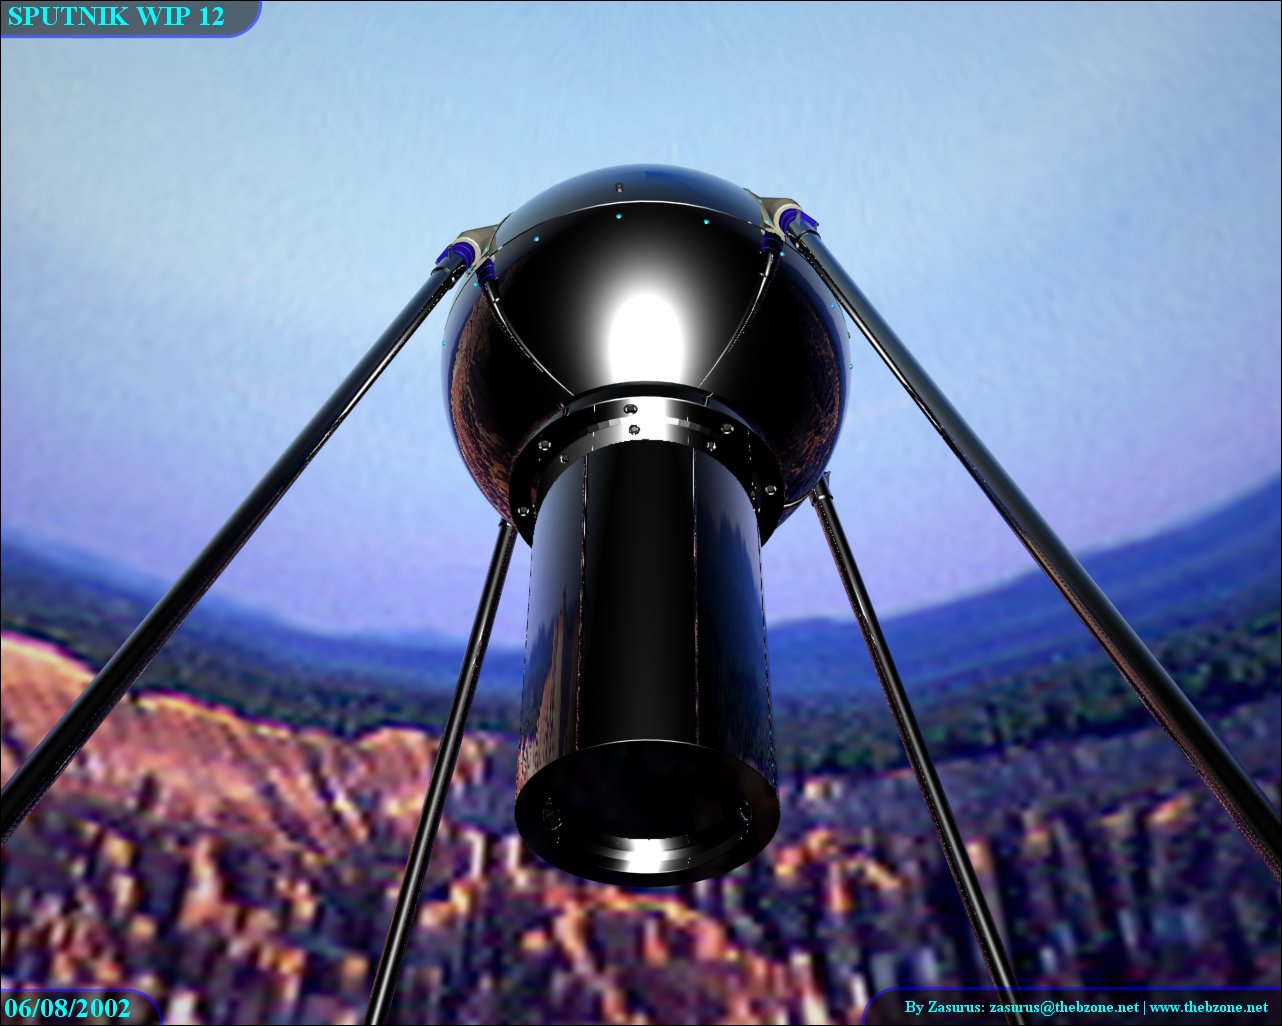
AT LAST! I have finished texturing it to my satisfaction. I did have some problems creating the chrome texture as when it was in a space scene it looked black but after putting it in a textured sphere (as shown) it looked fine so I have decided to keep it and make sure that there is a few items (planets suns ships etc…) close to it for it to be able to reflect them and be seen… I have also done the painted metal texture (Cream colour) and plastic texture (Blue colour). | |||
| Another view of the finished Sputnik… |
|
|||
Last update: Year: 2006 Month: 07 Day: 02 Time:21:51 (UK Time)
All material copyrighted © by Zasurus www.thebzone.net unless otherwise specified.